VScode
Many users use VScode to connect to Elja but it might be a difficult process to enable visualization through VScode. Here are instructions to enable X forwarding (visualization).
Step 1
First set up XLaunch to enable X forwarding. You can follow the instructions in this chapter here to complete this step.
Step 2
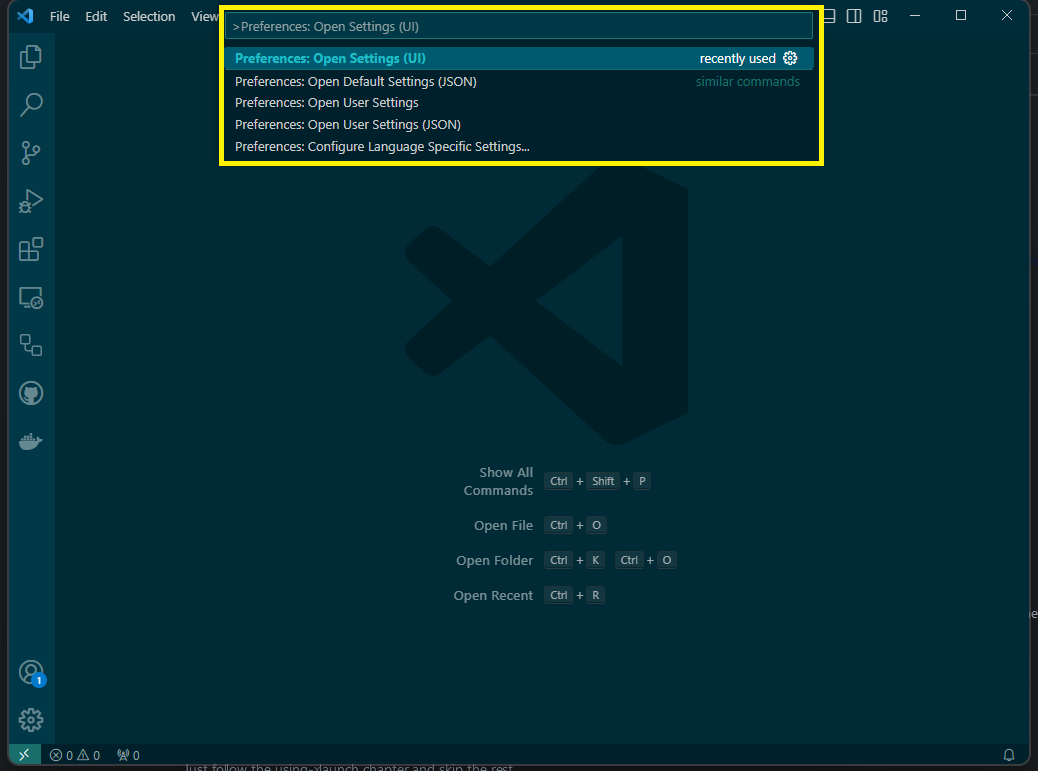
Open VScode and click on the F1 button and type Preferences: Open Settings (UI)
Step 3
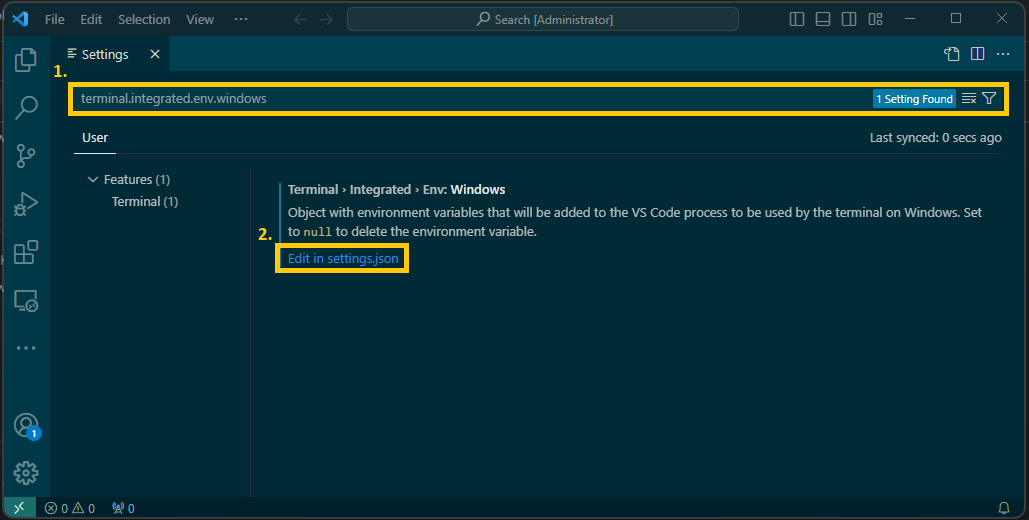
Now search for terminal.integrated.env.windows and click on Edit in settings.json as shown in the picture below.
Step 4
After step 3, VScode should open a settings.json file. In there add the following:
    "terminal.integrated.env.windows": {
        "DISPLAY": "127.0.0.1:0.0"
    },
Then save and exit.
Step 5
In your SSH configuration, typically located at .ssh/config, add the following:
Host TestX11 #changeable
  HostName elja.hi.is
  User <YOUR_USERNAME>
  ForwardAgent yes
  ForwardX11 yes
  ForwardX11Trusted yes
  IdentityFile <location of private key>
Step 6
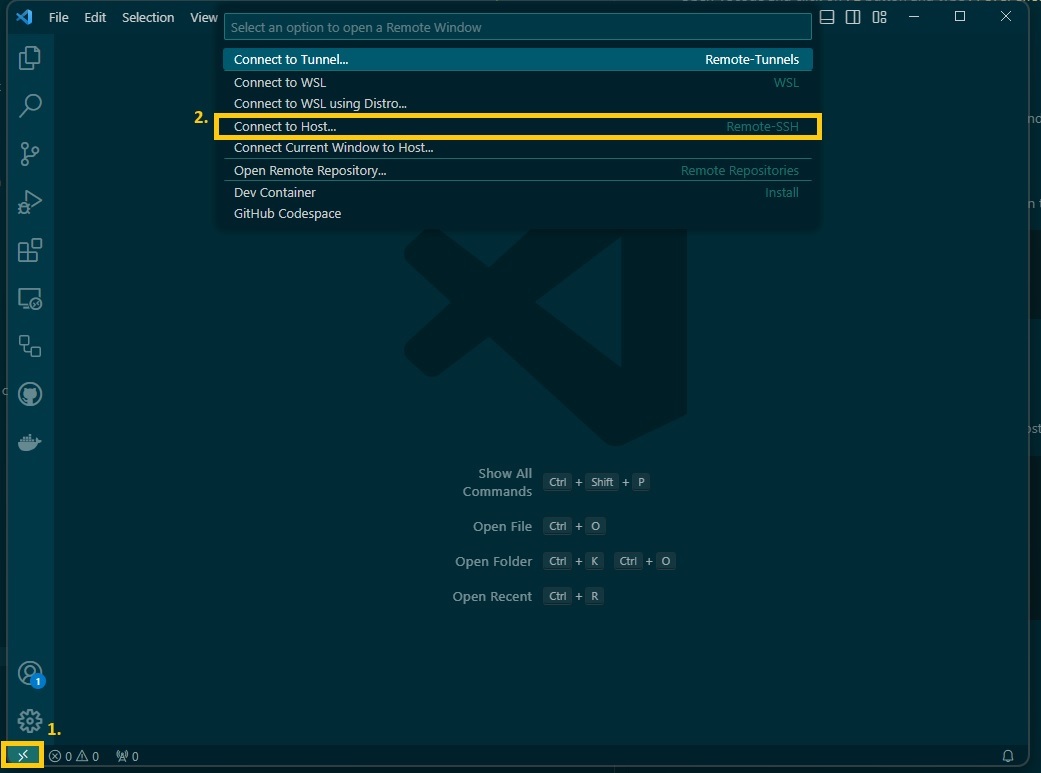
This step requires the user to have the Remote-SSH extension installed.
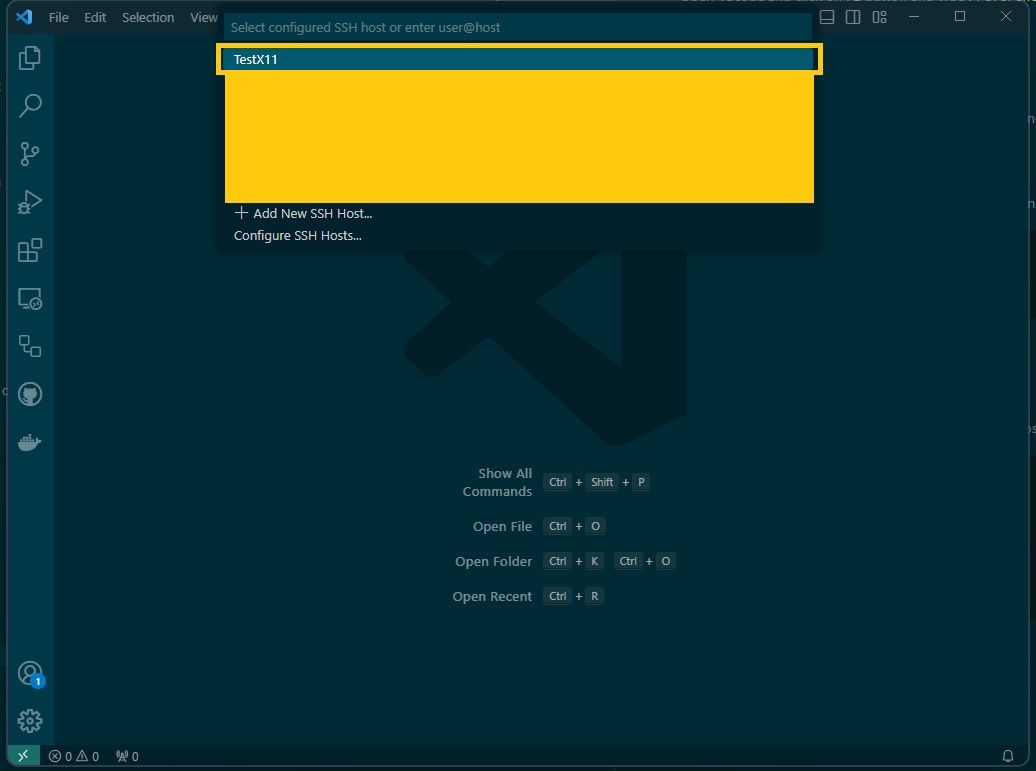
Connect to Elja by clicking on the green button in the bottom corner and click on Connect to Host... as the following picture shows.
Then click on the name of the 'HOST', in this case TestX11 you want to connect to.
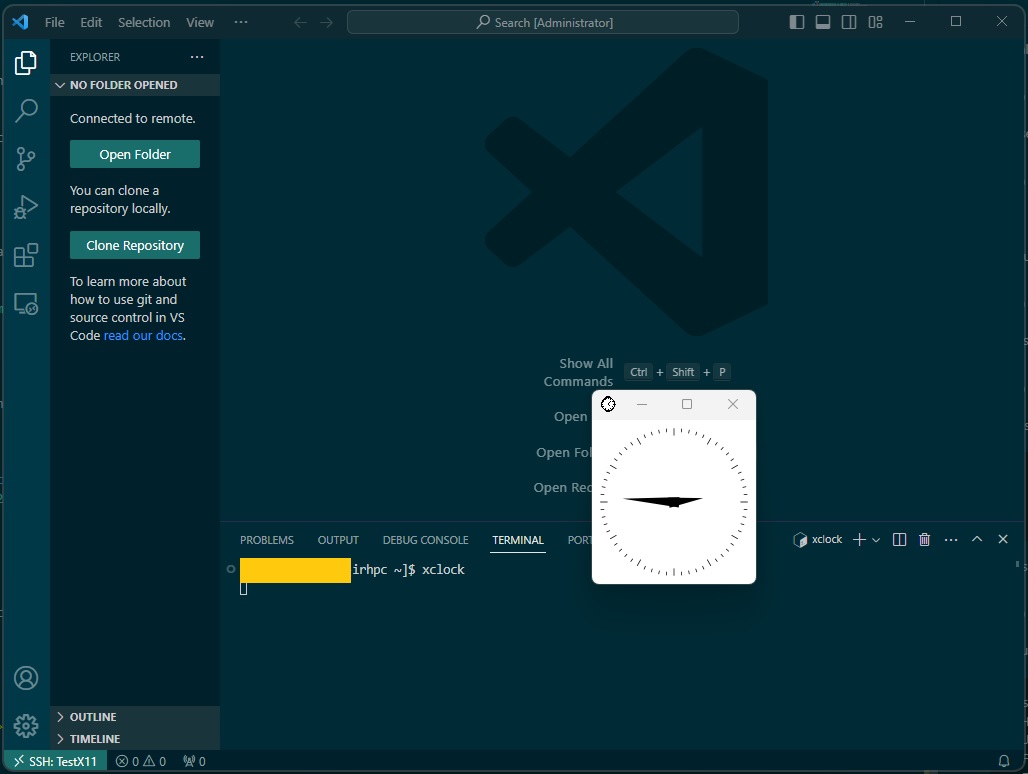
Step 7
Once you've managed to connect to Elja, you can check if X forwarding is working by typing xclock in the terminal, as shown in this picture: