1.2 Setting up the Nextcloud-Client
1.2.1 Setting up the Nextcloud-Client
Users have to already have an account on IREIs cloud storage before trying to connect the Nextcloud client to ireigogn.hi.is
The Nextcloud-Client can be installed on your computer and connected to your user in the IREIs cloud storage. This allows the user to synchronize and add data from their computer to the data cloud by moving it to a synchronized folder, created by the Nextcloud-Client. The data can then be moved at the user's convenience.
in order to install the Nextcloud-Client on a user's computer, the following steps must be followed:
-
First, the user must download the Nextcloud-Installer from the Nextcloud website https://nextcloud.com/install/
-
On that page, the user clicks on "Download For Desktop" and selects the operating system that runs on the user's computer (Windows, Mac, or Linux).
-
Next, the user will need to run the Nextcloud-Installer that the user should have received after following step 2.
-
The Nextcloud-Client can then be installed by following the following steps.
a. Click on "Next" in the first tab, Figure 4.
b. Click again on "next" , Figure 5.
c. inally click on Install, Figure 6.
The user should now have Nextcloud on their computer. The user can confirm this by typing "Nextcloud" in their computers search-bar.
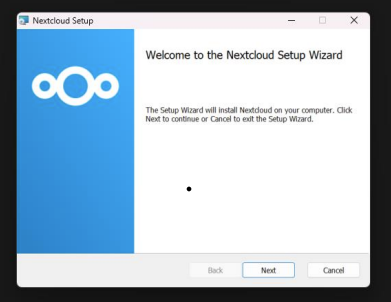
Figure 4. First tab in the Nextcloud-Client installation
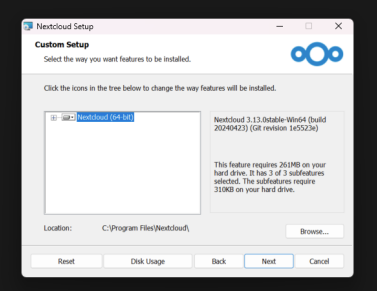
Figure 5. Second tab in the Nextcloud-Client installation
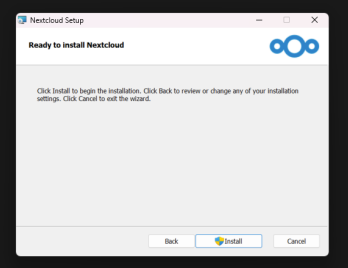
Figure 6. Third and the last tab of the Nextcloud-Client installation
1.2.2 Connecting the Nextcloud-Client to IREIs cloud storage
In section 1.2, we discussed how a user can install the Nextcloud-Client on their computer so that their data can be connected to IREIs cloud storage . Here we will go over how the connection is made.
If the instructions from section 1.2. were followed the user should now be able to see the Nextcloud application on their computer. If the user runs the application, a new window should appear asking the user to log in, as shown in Figure 9.

Figure 9. Signing to connect to the Nextcloud client to Nextcloud
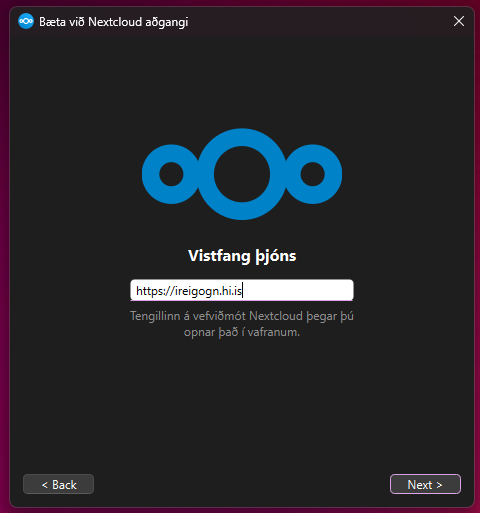
Figure 10. Write the name of the Nextcloud Host
A web page tab should then open, as shown in Figure 11, asking the user to confirm whether they want to connect IREIs cloud storage to the Nextcloud-Client on their computer. To confirm this, simply click on the "Log in" button.
Finally, the button should take the user to a web page where they need to authorize the connection. If all the information in that tab is correct, the process can be completed bt clicking the "Grant Access" button, which will take ou to a new tab confirming that the connection has been established, as shown in Figure 13.
Note! the text from both tabs must be read for security purposes, to ensure that the correct computer and access are not being authorized.
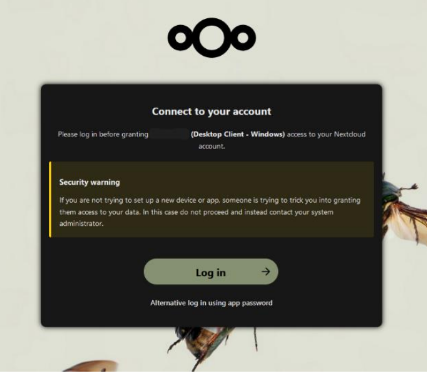
Figure 11. Confirm the user connection
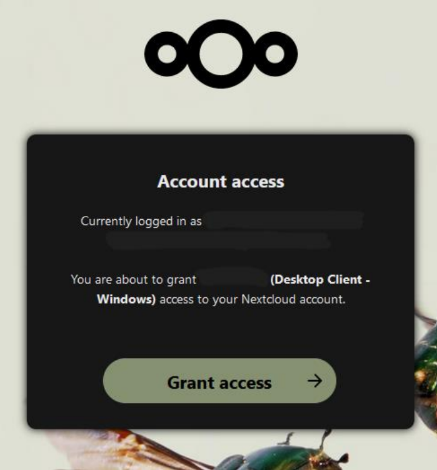
Figure 12. Grant access to user

Figure 13. Confirmation successfull
After receiving confirmation that IREIs cloud storage has been connected to the Nextcloud-Client the user needs to go back to the Nextcloud application and a window with several options should appear along with the user's username.
In that tab, the user can change the location of the Nextcloud folder. The files of that folder will then be synchronised between the computer and Nextcloud.
Below that, there should be options offering different kinds of synchronization methods, i.e. whether the user wants to synchronize all data from the Data Cloud or specific data.
The user can also configure it to use virtual files instead of downloading the data as soon as something is updated, Figure 14 shows how this option can be configured.
When the user has selected their settings, the can click "Connect".
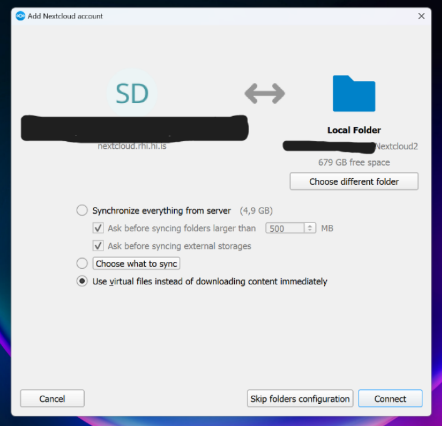
Figure 14. Synchronization methods
After a user clicks the "connect" button, the Nextcloud client should appear, as shown in Figure 15.
If the default options was selected when selecting the location for the nextcloud file, the file should appear in File Explorer as shown in Figure 16. There the user can move and download data from their computer to the cloud.
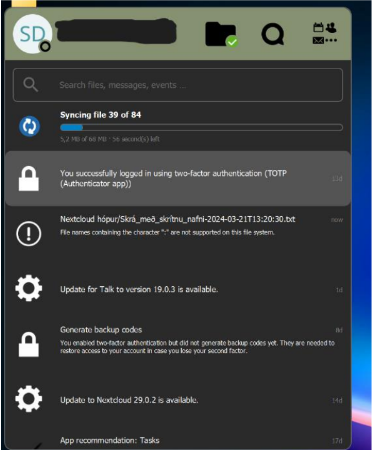
Figure 15. Nextcloud-Client interface on local computer
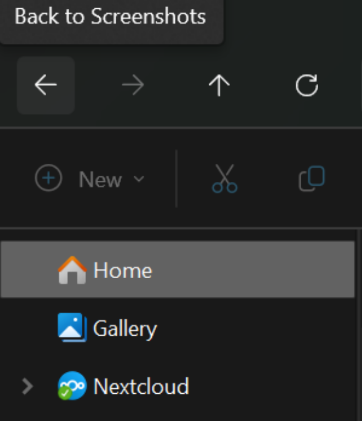
Figure 16. Nextcloud-Client interface on local computer